Protecting your home from water damage is essential, and a properly installed gutter system plays a crucial role in this defense. While professional gutter installation is an option, taking the DIY route can save you money and give you a sense of accomplishment. Here at MY Pittsburgh Gutters, we understand the importance of safeguarding your home’s foundation and enhancing its curb appeal. That’s why we have put together this comprehensive guide to walk you through the process of gutter installation, empowering you to take control of your home maintenance.

Understanding the Importance of Gutters for Your Home
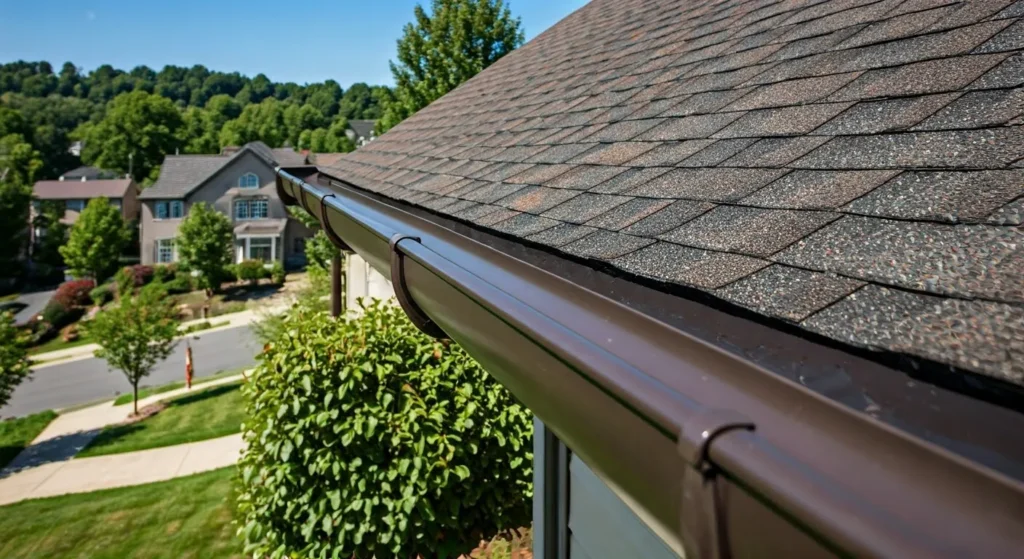
A well-maintained gutter system is crucial for channeling rainwater away from your home, preventing a cascade of potential problems. Without gutters, water would simply pour off the roof, leading to soil erosion, foundation damage, and even basement flooding. Properly installed gutters collect and redirect rainwater, safeguarding your home’s structural integrity.
But the benefits don’t stop there. Gutters also protect your landscaping, prevent staining on your siding, and even minimize ice dam formation in colder climates. By diverting water away from your home, gutters play a vital role in maintaining its value and keeping it looking its best.
Contact UsWhy Gutters are Essential in Pittsburgh, PA
Pittsburgh’s climate, with its unpredictable weather patterns, makes gutters a necessity for every homeowner. The city’s frequent rainfall and occasional heavy downpours can quickly overwhelm a home without a proper drainage system. Gutters, in this context, become your first line of defense against water damage.
Beyond rainfall, Pittsburgh’s hilly terrain exacerbates the risks of water flow. Uncontrolled water runoff can lead to severe soil erosion, compromising the stability of your property. Gutters, by directing water flow, help maintain the integrity of your landscaping and prevent costly repairs in the long run.
Additionally, the freeze-thaw cycles prevalent in Pittsburgh during the winter months make homes susceptible to ice dams. Gutters equipped with heating cables can significantly mitigate this issue, ensuring proper water drainage year-round and protecting your home from potential water damage.
How Gutters Protect Your Home from Water Damage
Imagine a heavy downpour without a gutter system in place. The rain would sheet off your roof, gaining momentum and volume as it falls. This uncontrolled waterfall can erode the soil around your home’s foundation, creating weak points and increasing the risk of cracks and structural damage.
A properly installed rain gutter acts as a collection system, capturing the water as it runs off your roof. Instead of allowing it to cascade freely, the gutter system channels the water through downspouts, directing it to a designated drainage area away from your home’s foundation.
This controlled drainage system protects not only your foundation but also your basement, siding, and landscaping. By preventing water from pooling around your home, gutters help to prevent a host of potential problems, including mold growth, wood rot, and even insect infestations.

Planning Your DIY Gutter Installation Project
Before diving headfirst into your DIY gutter installation, careful planning is key. An effective gutter system hinges on accurate measurements, a well-thought-out layout, and choosing the right materials for your needs. This planning phase sets the stage for a successful and rewarding DIY project.
Begin by assessing your home’s gutter needs, considering factors like roof size, rainfall intensity, and existing drainage systems. This assessment will help you determine the appropriate gutter size, material, and placement to ensure optimal performance.
Assessing Your Home’s Gutter Needs
Before heading to the store, thoroughly assess your home’s specific gutter requirements. Start by measuring the linear feet of gutter needed, considering the length of all roof edges that require drainage. Note down the measurements for each gutter run.
Next, determine the highest point of your gutter run. This is usually the corner furthest from the downspout location. The highest point serves as the starting point for installation and dictates the slope of your gutters.
While evaluating, also consider the number and placement of downspouts. Aim for one downspout for every 30-40 feet of gutter, ensuring water is effectively channeled away from your home.
Choosing the Right Type of Gutter for Your Home
Gutters are available in various materials, each with its own advantages. Aluminum gutters are a popular choice due to their affordability, resistance to rust, and lightweight nature, making them ideal for DIY installations.
Another consideration is gutter size. Standard gutters typically measure 5 inches, while larger 6-inch gutters are suitable for homes with steeper roofs or in areas with heavy rainfall. Consult your local building codes to determine the appropriate gutter size for your area.
Furthermore, ensure that your chosen gutter material and style comply with local building codes and homeowners’ association guidelines, if applicable. This ensures a smooth installation process and prevents any future compliance issues.
Tools and Materials Needed for Gutter Installation

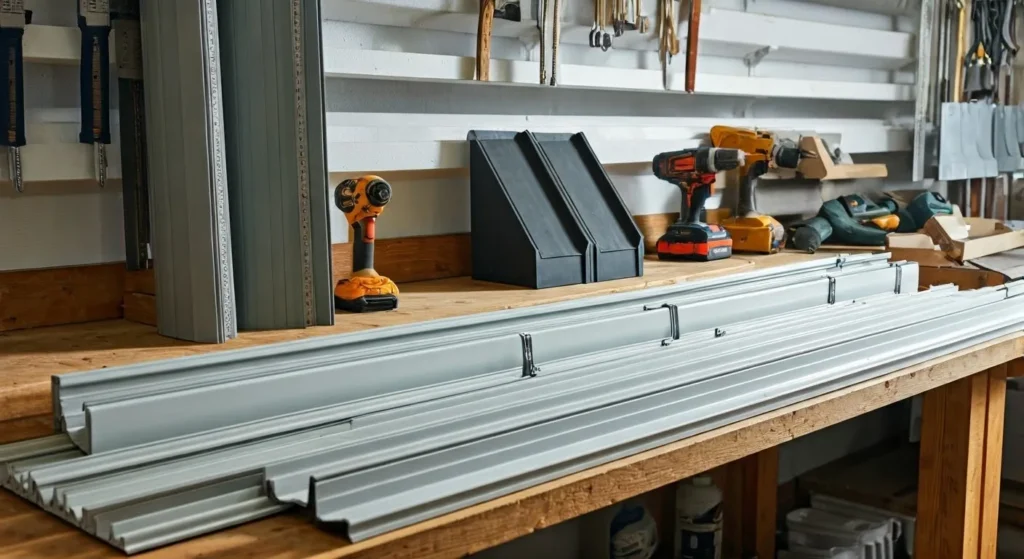
Having the right tools and materials on hand is crucial for a smooth and efficient gutter installation process. From accurate measuring tools to durable gutter hangers, assembling a comprehensive toolkit will ensure you’re well-equipped for the task.
Remember, investing in quality tools and materials not only makes the installation process easier but also contributes to a longer-lasting and more effective gutter system.
List of Essential Tools for the Job
Before you begin, gather the following essential tools to ensure a successful gutter installation:
- Measurement and Marking: Tape measure, chalk line, level
- Cutting: Tin snips or aviation snips, hacksaw (for downspouts)
- Fastening: Power drill with screwdriver bits, hammer, rivet gun (optional)
- Sealing: Sealant gun, silicone sealant
- Safety: Gloves, safety glasses
Having the right tools readily available streamlines the installation process, allowing you to focus on each step without unnecessary interruptions. Remember, safety should always be a top priority, so wear appropriate protective gear throughout the project.
Selecting High-Quality Materials: Rain Drop Gutter Guards, Seamless, and Alcoa Gutters
Choosing durable and long-lasting materials ensures your gutters withstand the elements and provide reliable performance for years to come. Seamless gutters, custom-made on-site, eliminate potential leak points and offer a sleek, finished appearance.
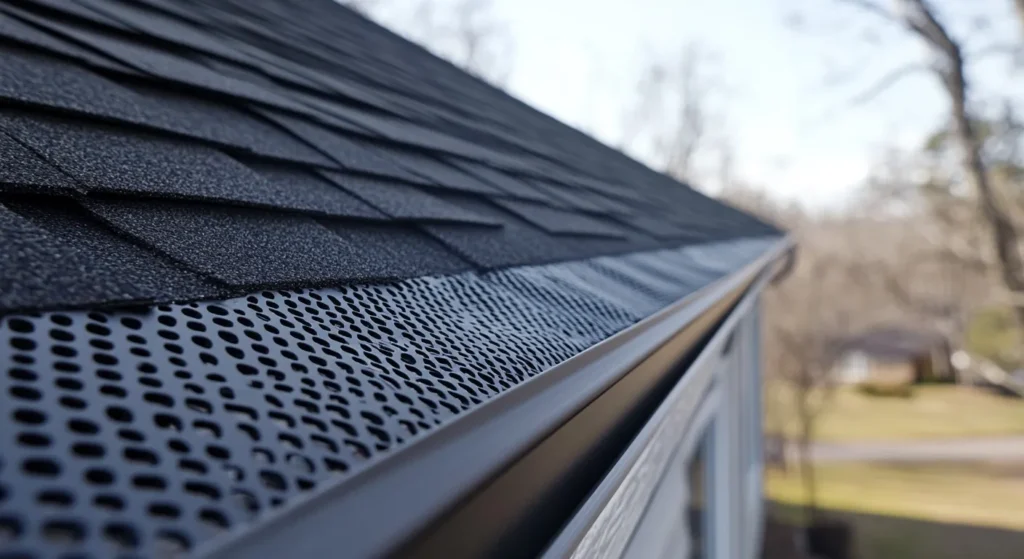
Opting for high-quality gutter guards, such as Rain Drop Gutter Guards, can significantly reduce maintenance efforts by preventing leaves and debris from clogging your gutters. Additionally, invest in sturdy, rust-resistant hangers and screws, such as stainless steel options, for increased durability.
Remember that while quality materials may come at a slightly higher upfront cost, they ultimately save you money in the long run by reducing maintenance and replacement needs.

Step-by-Step Guide to Installing Gutters
Now that you’ve gathered the necessary materials and planned your layout, let’s dive into the step-by-step process of installing your gutters. Remember, accuracy is key to ensure proper water flow and prevent future issues.
Following each instruction carefully will guarantee a successful and rewarding DIY gutter installation experience.
Step 1: Measuring and Planning Gutter Layout
Accurate measurements are paramount for creating a well-functioning gutter system. Using your tape measure, carefully determine the length of each gutter run, noting the locations of downspouts, corners, and end caps.
With your measurements in hand, use a chalk line to mark the desired location of your gutters on the fascia board. Ensure a slight slope towards the downspout locations to facilitate proper water flow. A general rule of thumb is a ¼-inch drop for every 10 feet of gutter.
Double-check your measurements and chalk lines before proceeding to the next step. Remember, a well-planned gutter layout is the foundation for a successful installation.
Step 2: Installing Rain Drop Gutter Guards
Before attaching the gutter sections, consider installing rain drop gutter guards. These guards effectively prevent leaves, twigs, and other debris from clogging your gutters, reducing maintenance and ensuring optimal water flow.
Begin by attaching the gutter guard brackets to the fascia board, following the manufacturer’s instructions. Ensure they align with the chalk line marking the gutter placement.
Once the brackets are installed, carefully snap the rain drop gutter guard sections into place. Make sure they fit snugly and overlap correctly to prevent any gaps or openings where debris could enter.

Step 3: Cutting and Assembling Gutter Sections
Using tin snips, carefully cut the gutter sections to the lengths determined in your layout plan. Ensure straight, clean cuts to facilitate proper joining and prevent leaks. Wear gloves to protect your hands from sharp edges.
If your gutter installation requires joining multiple sections, overlap them by at least 2-4 inches and secure them using sheet metal screws. Apply a bead of silicone sealant along the overlapping edges before screwing them together to create a watertight seal.
For corners, use pre-fabricated corner pieces or carefully cut and bend the gutter sections to form a 90-degree angle. Secure the corner joints with sheet metal screws and sealant.
Step 4: Securing Gutters to Your Home
Gutter hangers play a crucial role in supporting the gutters and attaching them securely to your fascia board. Space the hangers every 24-36 inches, depending on your local building codes and the weight of your chosen gutter material.
Mark the hanger locations on the fascia board and pre-drill holes to prevent splitting the wood. Opt for stainless steel lag screws, known for their strength and corrosion resistance, to attach the hangers firmly to the fascia board.
Once the hangers are securely in place, carefully position the gutter sections onto the hangers, ensuring they rest snugly within the hanger brackets. Use sheet metal screws to attach the gutters to the hangers.
Step 5: Finalizing Installation with Downspouts
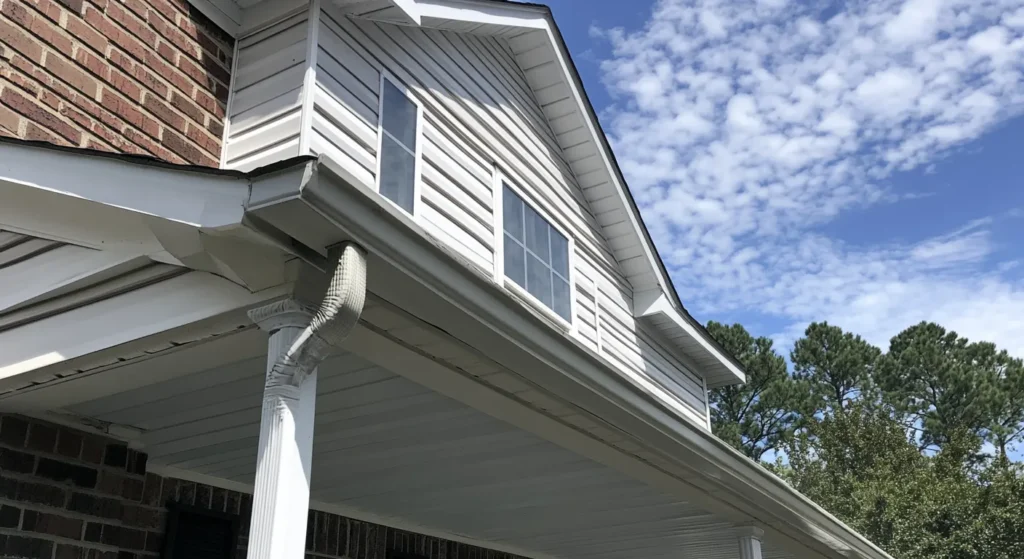
Downspouts channel water from the gutters to the ground, directing it away from your home’s foundation. Install a downspout outlet at the lowest point of each gutter run or every 30-40 feet.
Attach an end cap to the gutter section at the opposite end of the downspout outlet. Secure the end cap using sheet metal screws and sealant to create a watertight seal.
Assemble the downspout sections using elbows as needed to direct the water flow away from your home. Secure the downspout to the wall using downspout brackets and screws, ensuring it extends at least 2-3 feet away from your foundation.

Maintaining Your New Gutters
Congratulations on installing your new gutters! To ensure their longevity and optimal performance, regular maintenance is crucial. By investing a little time in upkeep, you can prevent costly repairs and keep your gutters functioning efficiently for years to come.
A simple yet effective maintenance routine involves inspecting your gutters twice a year, preferably in spring and fall. During these inspections, remove any accumulated debris, leaves, or twigs that may obstruct water flow. Flush the gutters with a hose to ensure proper drainage.
Routine Cleaning and Maintenance Tips
Keeping your gutters clean and free of debris is essential for proper drainage and preventing water damage. Follow these maintenance tips to ensure your gutters operate efficiently year-round:
- Regular Inspections: Inspect your gutters twice a year, in spring and fall, to identify and address potential issues early on.
- Remove Debris: Clear out leaves, twigs, and other debris that can accumulate in your gutters, obstructing water flow.
- Flush with Water: After removing debris, use a garden hose to flush the gutters thoroughly, ensuring water flows freely through the downspouts.
By incorporating these simple maintenance tasks into your routine, you can significantly prolong the lifespan of your gutters and prevent costly repairs.
Call Us (412) 657-8460Identifying and Addressing Common Gutter Issues
Even with proper maintenance, gutter issues can arise. Familiarizing yourself with common problems and their solutions can save you time and money.
| Issue | Description | Solution |
| Clogged Gutters | Leaves and debris prevent proper water flow. | Clean gutters thoroughly, consider gutter guards. |
| Sagging Gutters | Loose or improperly spaced hangers cause gutters to sag. | Tighten or replace hangers, ensure proper spacing. |
| Leaking Joints | Worn or damaged sealant leads to leaks at gutter joints. | Reapply sealant or replace damaged sections. |
| Overflowing Gutters | Gutters are overwhelmed during heavy rain, indicating capacity issues. | Consider larger gutters or additional downspouts. Consult gutter services. |
If DIY repairs seem daunting, contact professional gutter services for assistance. Their expertise ensures your gutters function optimally, protecting your home from water damage.
Conclusion
In conclusion, installing gutters can be a rewarding DIY project that protects your home from water damage. By understanding the importance of gutters, assessing your home’s needs, and following a step-by-step installation guide, you can safeguard your property effectively. Regular maintenance, including cleaning and addressing issues promptly, ensures the longevity of your gutters. For those in Pittsburgh, PA, where gutters are essential due to weather conditions, this guide equips you with the knowledge to handle the task confidently. Keeping your gutters in top condition is key to preserving your home’s integrity and value.
Frequently Asked Questions
What materials will I need to hang gutters myself?
Essential materials include gutter material, fascia brackets, gutter hangers, end caps, sheet metal screws, sealant, downspout outlets, elbows, and downspout sections.
Are there any safety precautions I should take before attempting to hang gutters myself?
Prioritize safety by following ladder safety guidelines, wearing protective gear (gloves, safety glasses), and adhering to local building codes. Always have a helper present when working at heights.
What are the steps involved in hanging gutters yourself?
The step guide involves measuring, cutting, and assembling gutter sections, securing them to the fascia with hangers, installing downspouts, and sealing all joints for a watertight finish.
Read also: DIY Gutter Installation: A Beginner’s Guide


